

This article was written by The Zillennial Zine’s spring editorial intern Gahnique Bell. Find her on Instagram at @s14rbur81_g4l4xy. If you would like to share an article with The Zillennial, send us an email at thezillennialzine@gmail.com.
Before I went to college, I was super into art. I had sketchbooks full of drawings, paintings, and sketches that I spent hours on. But once I got to college, school took over, and before I knew it, art took a back burner for me. Now that I’m graduating soon, I will finally have plenty of time to create art. The one main hobby I want to get back into, however is clay making.
Clay making is a super fun yet tedious skill to learn if you’re interested in making clay trinkets, keychains, coasters, and other clay-related objects. There are all types of videos on YouTube that show the process of artists creating cute clay art pieces.
I used to make clay keychains when I was younger and had a blast making them. It’s a laborious job, and some people take that love of creating something by hand and open art shops or sell them at conventions.
Art has always been my second favorite hobby, next to writing. I wanna jump straight into getting back into making art, starting with teaching myself how to make clay magnets.
Supplies Needed

Just like with any other project, you’re going to need to gather all of your supplies together. Most of them are things you probably have and other things you might need to go out and buy. The good thing is that a good bit of the supplies are pretty cost-efficient, so it’s not too much of a hassle to get started. There a lot of ways to go about making clay magnets, so the steps below are just one way of making this project happen. Below is the list of supplies you need in order to make clay magnets.
- Clay (obviously). Air-dry clay is the most common one to use for clay projects. It’s easy to use than oven-bake clay (which is fine to use as well for this project), but air clay is the way to go
- Rolling pin. This doesn’t have to be a literal rolling pin. It could be something as simple as an empty Pringle can. You just need a cylinder object that is able to roll out the clay.
- Stanley knife
- Toothpick/ Sculpting Tools
- Acrylic or Gouache
- Paintbrushes
- Magnet strips
- Resin
- Sandpaper
- Parchment paper or a cutting board
After you get all of the supplies it’s time get started on the project!
1. Prep Your Area
First, you should find a smooth, clear area in your kitchen or on a desk of some kind to start work on your clay magnets. Set down a courting mat or tape down a piece of parchment paper to prevent the clay from sticking to the table.
2. Roll Out Your Clay
Planning out how many clay magnets you’re going to will determine how much you will need for your project. Are you making three magnets? Or 10. Is this a gift for multiple people? After you plan out how many magnets you’re going to make, grab some clay and roll it into a ball or knead it. Then, you’re going to grab a rolling pin or anything that’s a cylinder, and roll out the clay to where it lies flat on the surface.
3. Cut It Out
Using the sculpture tools or a simple cutting knife and cut out your shapes of the magnets. Take your time with this not to break the clay or mess up the shape of the magnet. However, if you do mess up, you can always start over but repeating the first two steps.
4. Sand It Down
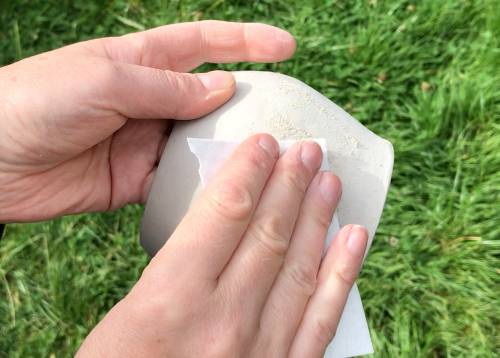
Next, after you cut out all of your magnets, you’re gonna grab the sandpaper and sand down the clay to make them completely smooth. Sanding the magnets removes any bumps or rough edges from the pieces. It also prepares the clay magnets for the painting process after the clay has fully dried. It will make the process a whole lot smoother in the long run.
5. Let the Clay Dry
After finally sanding your clay magnets, it’s time to let the clay do its thing a dry out. Usually, clay is hardened in a machine called a kiln, or if using an oven bake clay it would be baked in an oven. For air drying, it’s going to take around 24-42 hours for the clay to completely dry, so this is the time to take a break. Get some food. Take a nap. Run some errands. Just make sure the magnets are in a safe place where they won’t be disturbed.
6. Add Some Color!
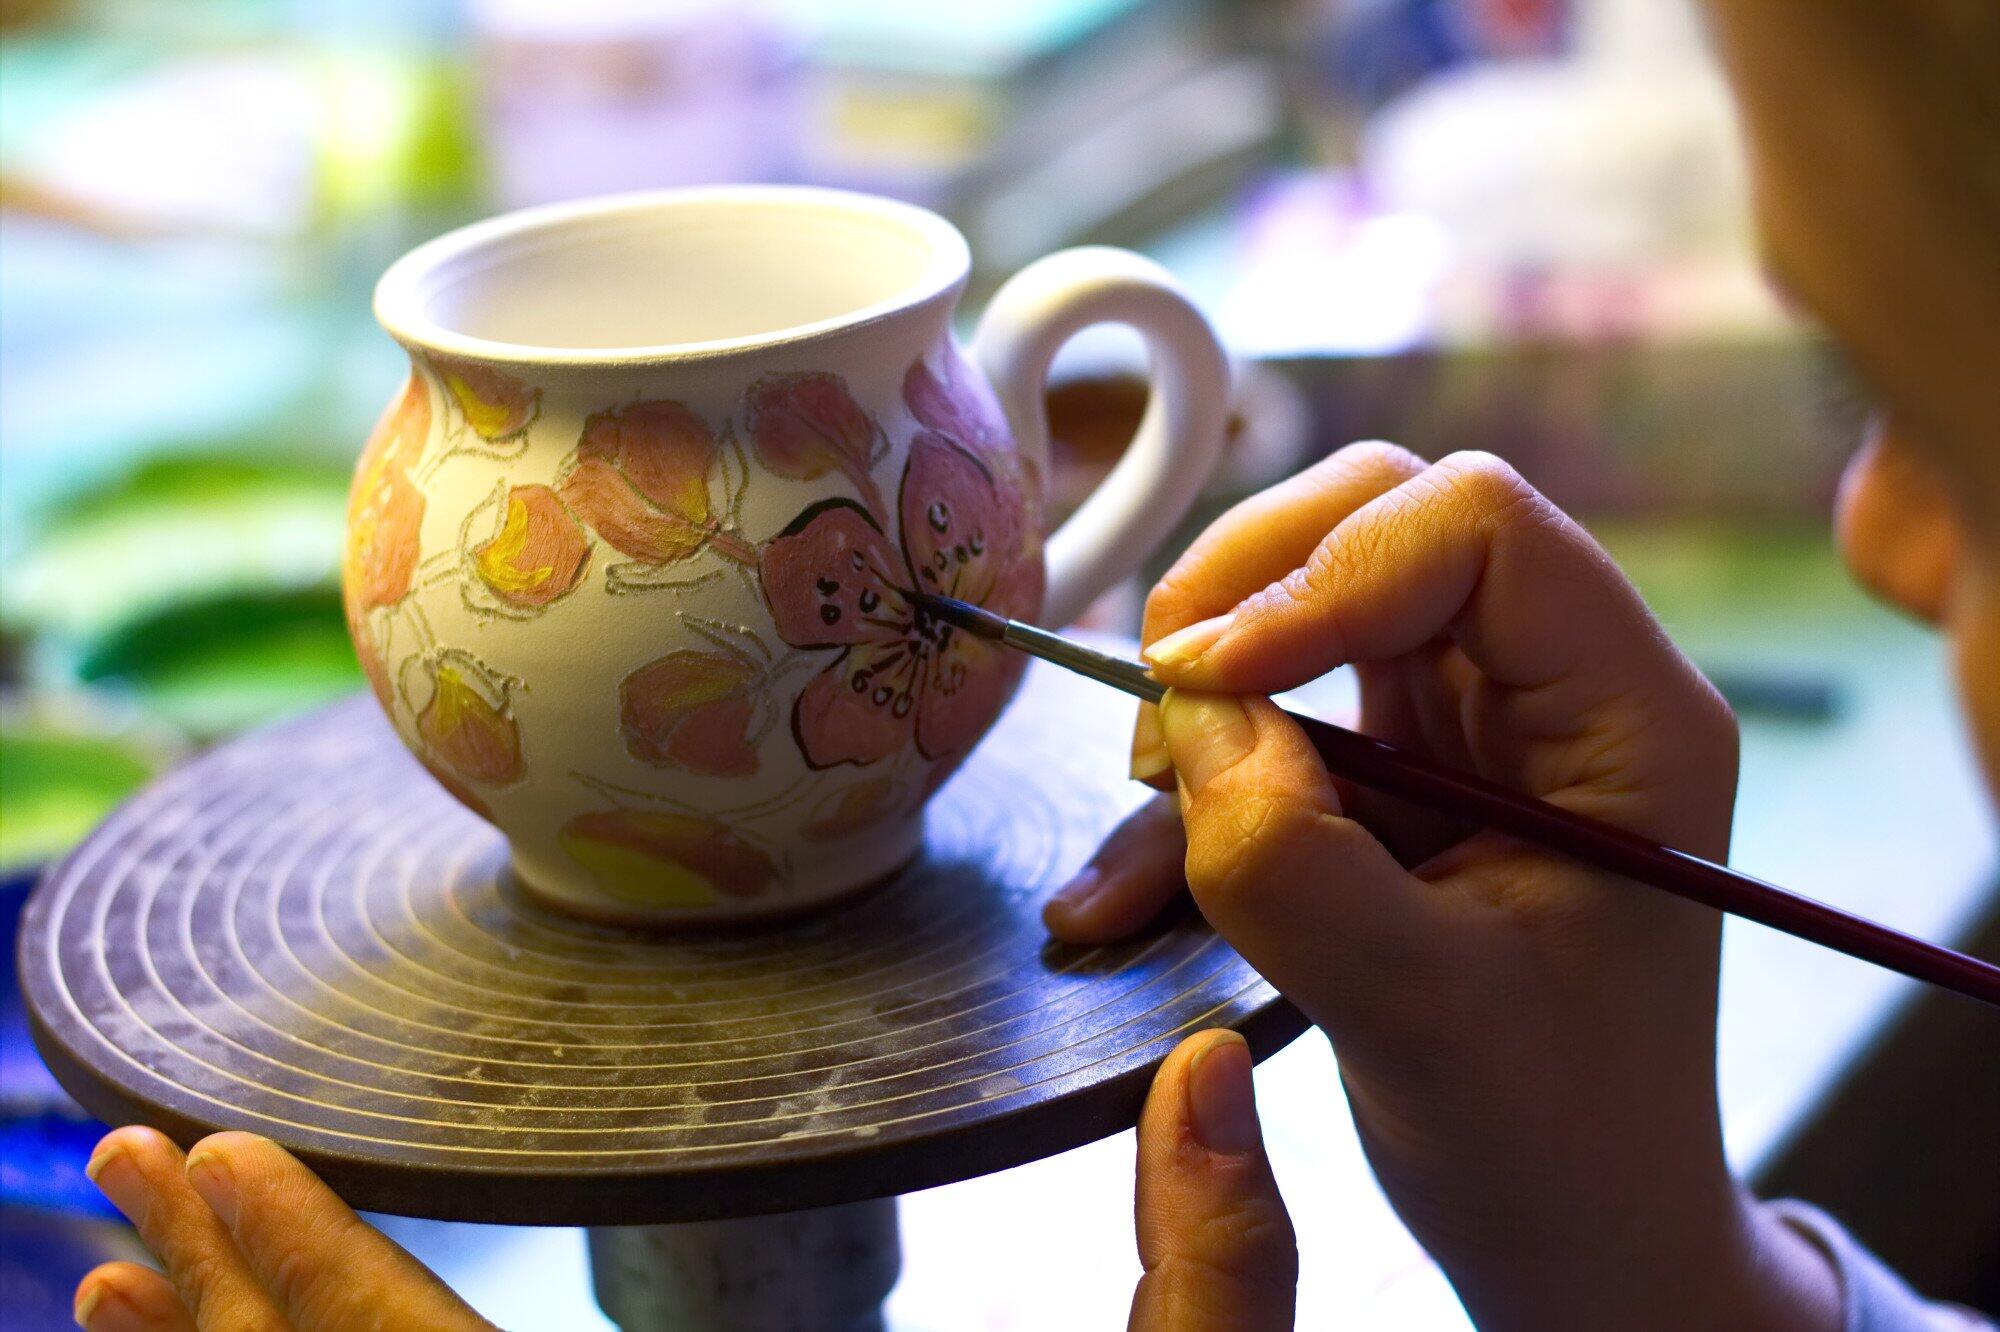
After a day of waiting for your clay to dry, it’s time for the fun part. Painting! Most of the artists I’ve seen use acrylics or acrylic gouache to paint their work, which makes sense because using an opaque paint medium like gouache and acyclic would give the magnets a finished matte look. It also reduces the chances of having the paint chip and doesn’t take that long to dry. Take your time with this part and have fun with it. Make sure you coat all parts of the magnets
7. Add Details and Textures
Another thing you can add while you’re painting is some details! Use your sculpting tools or a good ole’ toothpick to create Little details and texture can make your magnets look highly professional and aesthetically pleasing. Add some cool patterns, shapes or even words. This is your time to be creative, so go all in!
8. Coat It With Resin or Modge Podge
The last step that you want to do is to coat the magnets with some resin or Mod Podge. This will give an extra layer of protection to your magnets and give them a nice shine that’ll make people think you brought it online. And just like that, you’re done! You have your very own clay magnets to hang up on your refrigerator door (or any magnetic surface that is). Enjoy the creation!
Do you love working with clay? What clay magnet DIY ideas do you have? Let us know in the comments!


Leave a Reply